
Avoid Tipping: Shelving for Plastic Sheds in Australia, Use a Shed Kit

Yes, you can fit shelving in a plastic or resin shed, but the method matters more than it does with timber or steel. For heavy loads, use freestanding racking tethered to the shed’s frame or a slab anchor. For light gear, drill-free hooks and clip rails do the job without touching the panels. If you’d rather skip the guesswork, a purpose-built option like the Keter Storage Shed Shelf Kit is designed to fit Keter sheds properly.
TL;DR:
- Freestanding steel racking is the most versatile and stable method for heavy or tall shelving in resin sheds, especially when anchored to the shed’s frame or a slab base.
- Drilling into resin panels requires locating structural backing, using appropriate bits, sealing holes with silicone, and only fixing where supported to prevent panel damage or collapse.
- Light items can be stored with adhesive hooks, clip rails, or magnetic strips, but these must be within manufacturer weight limits and applied on clean, dust-free surfaces.
- Purpose-built shelving kits like the Keter Storage Shed Shelf Kit are designed specifically for Keter sheds, offering an easy, reliable setup without guesswork.
- Tethering tall or heavy racks is essential in resin sheds to prevent tipping, especially in windy conditions or cyclone-prone areas, due to the sheds’ limited frame strength.
Table of Contents
- Why shelving needs special care in plastic and resin sheds
- Shelving and storage options for plastic sheds
- How to choose shelving for your shed: criteria that actually matter
- Installation and safety: drilling, anchoring and tethering done right
- Why Keter’s approach and products matter for shed shelving
- A practical view: common mistakes and quick fixes
- Solve it with a shelf kit built for your shed
- Sources
- FAQ
Why shelving needs special care in plastic and resin sheds
Resin panels are lightweight by design, and that’s exactly what makes them tricky for shelving. Unlike a timber shed with studs behind every wall, most resin panels have little backing support, so a shelf bracket screwed straight into the cladding can pull loose under weight. That’s why freestanding systems or fixings anchored to real structural points usually outperform anything relying on the wall alone.
A shed with an integrated floor stiffens the whole box, tying the walls together and reducing flex, which gives shelving and racking a far steadier base to sit on. Getting that base right also stops doors binding or the frame sagging over time.
Drilling isn’t off the table, it just needs care:
- Only drill where you’ve confirmed structural backing, not open cladding
- Use a pilot hole and a bit suited to resin to avoid cracking
- Seal every penetration with silicone to stop water tracking through the panel
Shelving and storage options for plastic sheds
Once you understand the structural limits, choosing shelving becomes a matter of matching the fitting to the load. Here’s how the main options stack up.
- Drill-free fittings. Adhesive hooks, clip-on rails, over-door racks and magnetic strips work well for light items like gloves, small tools and pouches. Stick to the manufacturer’s stated weight limit, and always clean the surface first, grease or dust ruins adhesion fast.
- Wall-mounted into structure. Some resin sheds have hidden portal frames or girts behind the panel line, usually near door frames or corner posts. Fixing into these points can support medium loads, but you need to locate them before drilling, not guess.
- Freestanding racking. Galvanised or powder-coated steel racking sits independently of the walls, so it avoids the cladding problem altogether. This is the most flexible option for garden tools, bins and stacked totes, but tall units need tethering to stop them tipping.
Shelf depth should be chosen to suit your stored items, with smaller depths for small parts and larger depths for bulky items like tubs and mower attachments. Mixing depths across a single bay is often the smartest way to use a small shed footprint without wasting air space up top.
How to choose shelving for your shed: criteria that actually matter
Picking the right system comes down to four practical checks rather than personal preference.
Start with load. Most shed shelving is rated for light, medium, or heavy loads depending on manufacturer specifications, so match the load rating to your needs, and it pays to be honest about which bracket your stored items sit in before you buy anything.
- Match the rack’s rated load to what you’re actually storing, not what looks impressive on the box
- Tether any tall rack to the shed’s portal frame or a wall anchor, tie-downs cut the overturning risk in windy conditions
- In coastal areas or spots prone to condensation, choose a higher corrosion-class fixing so the shelving doesn’t rust out before the shed does
- Keep a clear walkway for comfortable access and tool movement, and space bays to line up with the shed’s frame rather than jamming racks wherever they fit
Pro Tip: Measure your tallest stored item before buying shelving, not after. A rack that’s 50mm too short forces you to store things sideways, which wastes depth and makes the whole bay harder to access.
Installation and safety: drilling, anchoring and tethering done right
Getting the fixing right the first time saves you from patching holes later.
- Locate structure first. Check for portal frames, corner posts or girts before drilling anything, and if none are accessible, plan a slab-mounted anchor instead of relying on cladding alone.
- Drill with control. Use a pilot hole, a bit rated for plastic or resin, and light pressure. Seal every hole with silicone once the fixing is in.
- Tether tall racks properly. Use a rated strap from the top of the unit to a frame anchor point, positioned high enough to resist tipping, not just at ankle height.
- Call in help for heavy setups. Cyclone-prone regions, engineered anchors, or loads over the medium bracket are worth a tradesperson’s input rather than a guess.
Safety guidance consistently points to one weak spot: resin sheds don’t have the frame strength of steel structures, so an unsupported heavy rack is a wind hazard waiting to happen. Tethering isn’t an optional extra here, it’s the difference between a stable bay and a rack that topples in a gust.
Why Keter’s approach and products matter for shed shelving
Keter builds sheds around recycled resin panels with integrated floors, which gives you a low-maintenance shell that also happens to solve half the shelving problem before you buy a single bracket. That inbuilt floor rigidity means freestanding racking sits flatter and performs more predictably than it would in a walls-only kit.
A few things worth knowing if you’re shopping the Keter range:
- The Keter Storage Shed Shelf Kit is designed to fit Keter sheds specifically, with fixing points that suit the panel layout rather than a generic universal bracket
- Keter’s own guidance on what fits in a Keter shed is a handy reference if you’re planning bay layout around bikes, mowers or seasonal gear
- Larger models like the Store It Out Prime Shed 880L come with that same integrated floor advantage, giving shelving a steadier base from day one
A practical view: common mistakes and quick fixes
The mistake I see repeated most often is overloading the top shelf while fixing only into the cladding, a combination that’s asking for trouble the moment someone leans on it or a gust catches a tall rack. If you’re not certain about your shed’s structural points, start with drill-free fittings and test with small, incremental loads before you commit to anything permanent.
Measure your bays properly, plan how you’ll actually reach the back of a 600mm shelf, and test your tether points with a firm tug before loading them fully. None of this takes long, and it’s a lot cheaper than fixing a cracked panel or a rack that’s tipped over your good tools.
— Liza
Solve it with a shelf kit built for your shed
Freestanding racking and drill-free hooks cover most situations, but if you’d rather skip the trial and error, the Keter Storage Shed Shelf Kit is built specifically for Keter sheds, with fixing points and recommended loads matched to the panel layout rather than adapted from a generic garage system.
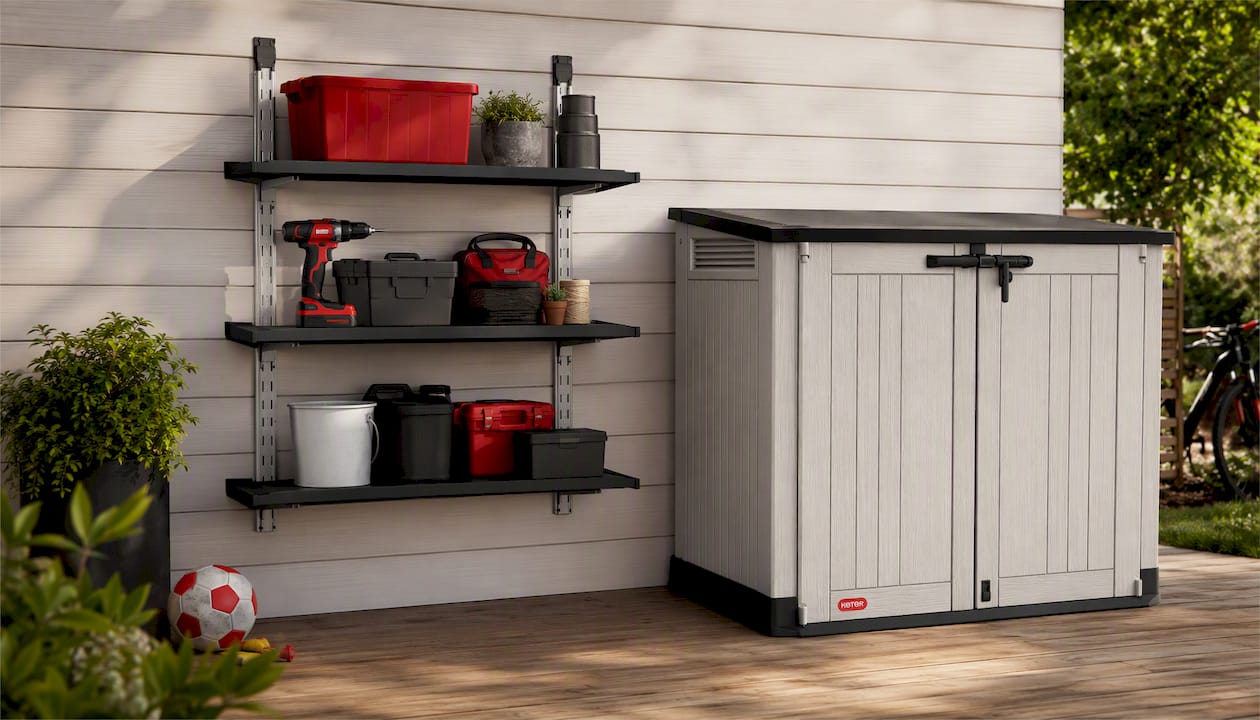
It suits anyone who wants shelving up quickly without hunting for structural points or second-guessing fixings, particularly if you’re setting up a Store It Out Prime Shed with Pistons 880L or similar model with an integrated floor already doing the heavy lifting on stability. If your shed doubles as family storage for outdoor toys as well as tools, a shelf kit designed around fixed depths makes it far easier to keep everything sorted by bay. Head to the product page, check it against your shed model, and get your shelving sorted before the weekend’s over.
Sources
- Garden shed shelving — Australian guide (2025)
- Resin storage sheds with floor: buying & setup guide
- Can I drill into the walls of a resin shed? | ShunTool
FAQ
Can you put shelves in a plastic shed?
Yes. Freestanding racking works in any plastic or resin shed, and drill-free fittings suit light items, while drilling into confirmed structural points supports medium loads.
How do you hang things up in a plastic shed?
Use drill-free options like adhesive hooks, clip-on rails or magnetic strips for light tools and accessories, checking the stated weight limit before loading them up.
How do you put shelves in a Keter shed?
Locate structural points like portal frames or corner posts before drilling, or fit a purpose-built option such as the Keter Storage Shed Shelf Kit, which is designed to match the panel layout of Keter sheds.
What’s the best type of platform for a plastic shed?
A slab or integrated floor base gives the most stable platform, since it stiffens the shed structure and stops shelving or racking shifting on an uneven surface.
Do I need to tether shelving units in a shed?
Tall freestanding racks should be tethered to the shed’s frame or a slab anchor, since resin sheds don’t have the frame strength of steel structures to resist tipping on their own.


