
Wind Rated Sheds in Australia: Why a 39–49 km/h Rating Isn’t Enough

For most Australian backyards, “wind rated sheds” means consumer-grade, weather-resistant resin sheds rather than engineered, cyclone-rated buildings. For a typical suburban block, yes, a properly sited and anchored resin shed handles normal windy days just fine. For an exposed coastal lot or a cyclone-prone region, no, it isn’t a substitute for an engineered structure. Before you buy anything, walk your yard and check exposure, then read the manufacturer’s anchor and base instructions.
TL;DR:
- Resin sheds can handle typical suburban winds but are not suitable substitutes in cyclone-prone or exposed coastal areas without proper anchoring.
- Proper siting against solid structures and the use of stainless or corrosion-resistant fasteners are crucial for wind resistance, especially in high exposure zones.
- A concrete slab base provides the strongest anchor points for maximum wind resistance, while smaller sheds should still be anchored according to manufacturer instructions.
- Regular maintenance checks after storms should include inspecting anchors, panel alignment, and sealing joints to prevent moisture ingress.
- For moderate exposure, resin sheds like those from Keter offer low maintenance and fast DIY assembly but require correct placement and anchoring for optimal wind performance.
Table of Contents
- What resin sheds are actually made of, and where they hold up
- How do you site and anchor a shed for wind resistance?
- Preparing the base, airflow and drainage before storm season
- What should you check after strong wind or storms?
- Why Keter resin sheds suit Australian backyards
- When resin makes sense, and when it doesn’t
- Ready to choose your shed? Here’s where to start
- Sources
- FAQ
What resin sheds are actually made of, and where they hold up
“Wind rated” gets thrown around loosely in shed marketing, so it’s worth being precise. Most backyard resin sheds are moulded from high-density polyethylene (HDPE) or polypropylene, then UV-stabilised so the panels don’t fade, chalk, or go brittle after a few Australian summers. That UV treatment matters more here than almost anywhere else in the world, given how harsh the sun gets from Perth to Cairns.
The upside is real. Resin doesn’t rust, needs no repainting, and many models arrive with a moulded floor already built in, which speeds up a weekend DIY build considerably.
- No corrosion, ever, even in salty coastal air
- Low ongoing maintenance, just an occasional wash-down
- Faster assembly than steel or timber kits
- Floor-included designs on many models, cutting base-prep work
The limits are worth knowing too. Resin flexes more than steel under load, so it has less inherent stiffness, and in genuinely exposed spots that flex becomes a liability under strong gusts rather than a strength. Because Australian conditions swing from tropical to temperate, the right material choice depends heavily on where you live and how exposed your yard actually is.
Pro Tip: If you’re near the coast, the shed panels themselves will shrug off salt air, but check that the anchor bolts and screws are stainless or corrosion-resistant. Cheap fasteners rust long before the resin ever degrades.
Some resin kits even publish a practical wind figure, such as a rating to wind grade 6, roughly 39–49 km/h. Treat that as a tested kit limit, not a formal wind-load certification, and always anchor to the manufacturer’s spec to stay within it.
How do you site and anchor a shed for wind resistance?
Anchoring makes or breaks a resin shed’s wind performance, arguably more than the material itself. Get the siting and fixing right and a modest resin kit will outlast a poorly anchored “stronger” one.
- Pick a sheltered spot first. Position the shed against a solid fence, wall, or hedge line where possible. Open gaps between structures accelerate wind speed through what’s called a venturi effect, so avoid narrow, funnel-like corridors.
- Keep clearance from boundary fences. A little breathing room stops wind from slamming directly against both structures and helps with drainage too.
- Match your anchor method to your base. Concrete slabs take masonry anchors or bolt-down brackets; timber decking needs screw-through fixings into joists; and bare lawn calls for screw-in earth anchors driven well below grade.
- Follow the kit-specific anchor schedule. Every Keter model ships with marked tie-down points, and skipping even one recommended anchor location noticeably weakens the whole structure in a gust.
Base choice shapes everything downstream. A concrete slab gives you the strongest, most permanent bolt points, pavers offer a solid middle ground with masonry anchors, and a timber platform works well if you’re renting or might relocate. Whichever you choose, the assembly guide for your specific Keter shed kit lays out exactly where anchor points sit and how much load they’re designed to carry.
Preparing the base, airflow and drainage before storm season
A shed can be perfectly anchored and still fail if water pools around its footings or heat builds up inside and stresses the seams. Base prep, ventilation, and drainage work together, and skipping any one of them undermines the other two.
For floor-included resin sheds, a compacted, level base of crushed rock or road base is often enough for light storage use. For heavier loads, or anywhere you want maximum wind resistance, a poured concrete slab around 100mm thick gives you the strongest anchor points and the longest structural life.
- Add ridge vents, whirlybirds, or passive louvres to stop heat and pressure building up inside during summer
- Keep cladding at least 75 to 100mm above finished ground level so water can’t wick up into seams, and consider using an effective uszczelka T do carportu i wiaty to protect and seal panel joints against moisture ingress
- Fit simple gutters or grade the surrounding soil away from the shed to stop pooling around anchor points
- Confirm delivery access to your site and let a poured slab cure fully before installation day
Ventilation matters more than most buyers expect: resin holds heat differently to steel, and a stuffy, poorly vented shed can develop condensation that eventually affects fixings and stored contents alike.
What should you check after strong wind or storms?
A resin shed rewards a bit of routine attention, and it costs you almost nothing in time. Build these checks into the calendar rather than waiting for a problem to show up.
- Monthly: hose down panels, clear leaf litter from gutters and vents, and glance over door seals.
- Quarterly: test every anchor bolt for tightness, inspect floor fixings, and look for any panel warping or discolouration.
- After any significant wind event: walk the full perimeter, check anchors haven’t loosened or lifted, look for panel misalignment at the seams, and note any new cracks or movement in the base.
Pro Tip: Photograph your anchor points when you first install the shed. After a big storm, compare against that photo. It’s the fastest way to spot subtle movement you’d otherwise miss.
If you’re storing a vehicle, live somewhere with regular severe wind exposure, or your council flags specific structural requirements for your block, that’s the point to look at an engineered steel building with formal wind-load certification instead of a consumer resin shed.
Why Keter resin sheds suit Australian backyards
Keter designs its sheds around durable, recyclable resin that resists rust, rot, and warping while staying easy enough for one person to assemble over a weekend. That combination of low maintenance and straightforward DIY build is exactly what most suburban buyers are after, and it’s backed by Keter’s own Australian buyer guides, which walk through sizing, features, and assembly.
Three models cover most backyard scenarios. The Keter Factor 8 x 11 Garden Shed (2.6 x 3.3m) suits households wanting solid mid-size storage for a mower, bikes, and general garden gear. The Keter Signature Pent 11x7 Shed - Stormgrey Look (3.4 x 2.2m) fits narrower or sloping yards nicely thanks to its pent roof profile, and its Stormgrey finish sits well against most exteriors. The Keter Stronghold Shed 8 x 8 (2.5 x 2.3m) is the pick when you want a more robust build for tools, equipment, or a workshop-style setup.
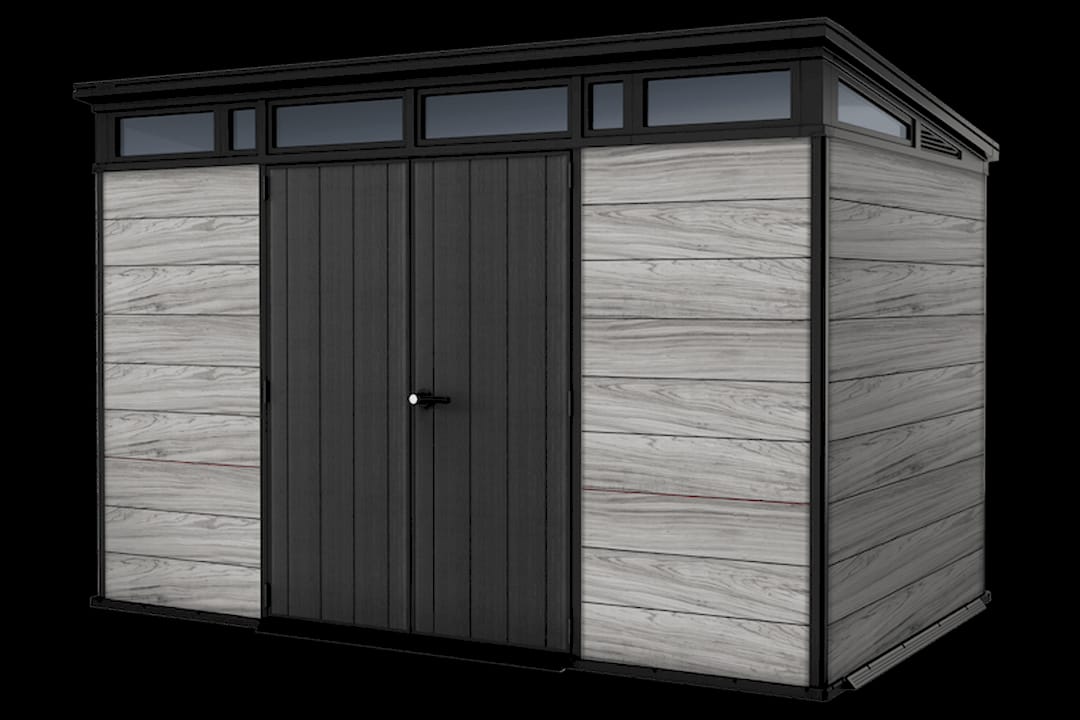
Whichever model you’re eyeing, check its product page for exact anchor point locations and base requirements before you buy, and remember that no consumer resin shed should be assumed cyclone-capable. Sound siting and correct anchoring are what get you real wind performance.
When resin makes sense, and when it doesn’t
Resin sheds are the right call for renters, courtyard gardens, coastal suburbs, and the vast majority of standard suburban lots where wind exposure is moderate and permanent structures aren’t practical. That covers most of the readers looking into this topic.
Where I’d steer you toward an engineered steel structure instead: storing a vehicle, a rural block with genuine, regular wind exposure, or any site where council flags specific structural requirements. Otherwise, spend your effort on siting and anchoring rather than chasing a marginally stronger shed at the same budget. A well-anchored standard kit consistently outperforms a premium one bolted down badly.
— Liza
Ready to choose your shed? Here’s where to start
A resin shed is often a practical alternative to engineered steel buildings for many backyard storage needs. Resin sheds are built from weather resistant resin that resists rust, rot, and warping, and some include a moulded floor to help simplify site preparation.
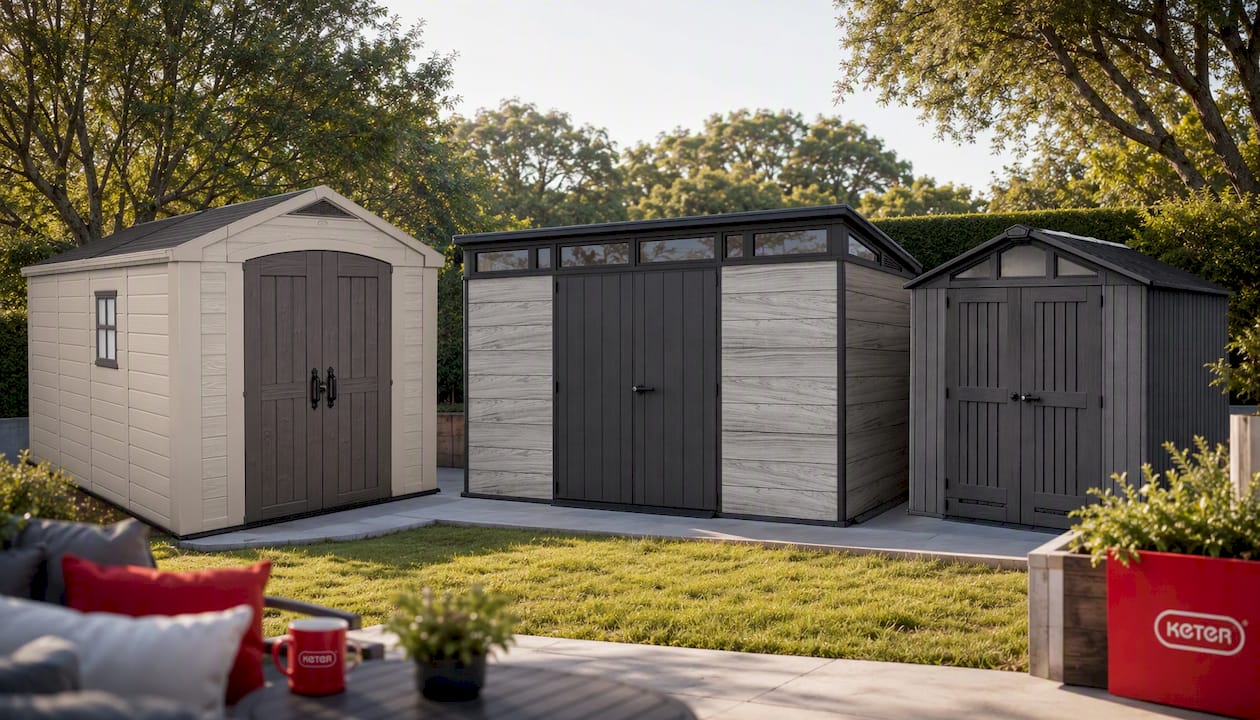
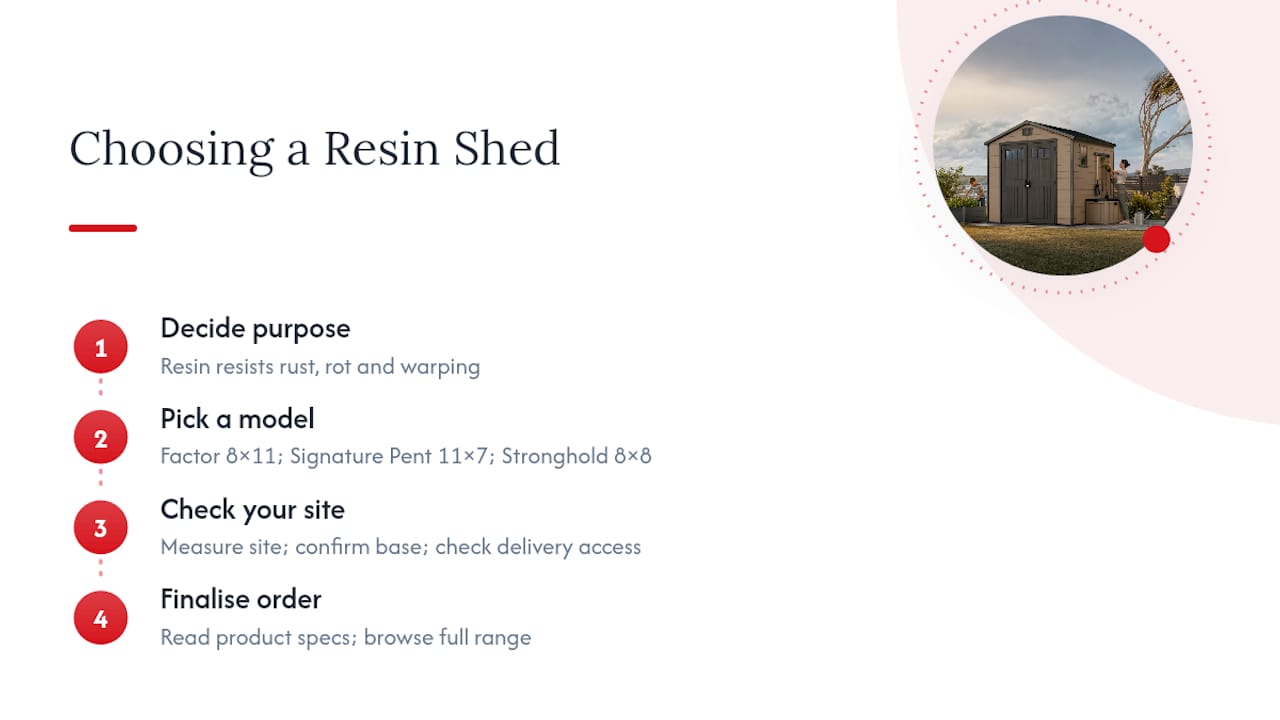
If you need solid mid-size storage, look at the Keter Factor 8 x 11 Garden Shed. For a narrow or sloping yard, the Keter Signature Pent 11x7 Shed in Stormgrey Look works with most exteriors. Want a tougher build for tools or workshop gear? Check the Keter Stronghold Shed 8 x 8.
Before you order, measure your site, confirm your base type, and check delivery access. Then browse the full range of sheds and outdoor storage or explore the garden and planter range to round out your outdoor setup, and read each product page’s anchor specs so you know exactly what you’re fixing down on installation day.
Sources
For deeper technical detail, see the Australian buyer’s guide to premium outdoor sheds, the plastic garden sheds guide, and Keter’s own Australian shed guide. Always check your local council’s planning rules and wind or bushfire overlays for your specific address before installing.
FAQ
Are resin sheds actually wind rated in Australia?
Consumer resin sheds aren’t formally wind-rated or certified the way engineered steel buildings are. Some models publish a practical wind grade, such as grade 6, around 39–49 km/h, which is a tested kit limit rather than a broad certification.
Do I need a concrete slab for a resin shed?
Not always. Many floor-included resin kits work fine on a compacted base for light storage, but a poured concrete slab around 100mm thick gives you the strongest anchor points if you want maximum wind resistance.
Which Keter shed suits a small backyard?
The Keter Stronghold Shed 8 x 8 (2.5 x 2.3m) is compact enough for tighter yards while still offering a sturdier build, and the Keter Signature Pent 11x7 suits narrow, sloping blocks thanks to its low pent roof profile.
Can a resin shed handle coastal conditions?
Yes, resin resists salt corrosion far better than untreated steel and needs no repainting near the coast. Just make sure your anchor bolts and screws are corrosion-resistant, since fasteners typically fail well before the resin panels do.
How much does a Keter shed cost?
Pricing varies by model and size, and current prices are listed on each product page rather than fixed here. Check the specific shed’s page for up-to-date pricing and anchor specifications before you order.


