
Avoid Cracks: Assemble a Plastic Cabinet Fast With Keter Tips

Yes, you can assemble most plastic storage cabinets in under an hour with nothing more than a screwdriver and a rubber mallet. Follow one sequence: inventory the parts, build the base, attach the sides, fit the shelves, secure the back panel, hang the doors, then anchor the unit. The only real risk is over-tightening, so a level and a gentle hand matter more than muscle.
TL;DR:
- Most plastic cabinets can be assembled in under an hour using only manual tools, with hand-tightening screws at the correct torque to prevent damage.
- Proper preparation involves checking parts against the manual on a level surface and carefully sorting hardware to avoid delays during assembly.
- Fitting the back panel before hanging doors ensures structural stability and helps prevent door misalignment.
- Using a rubber mallet through cloth to seat tabs and gently adjusting components reduces the risk of cracking or warping the plastic.
- For tall or heavy units, anchoring with wall straps or brackets and enlisting help can improve safety and ease of assembly.
Table of Contents
- Getting ready for plastic cabinet assembly
- How do you assemble a plastic cabinet step by step?
- What to do when parts don’t line up
- Weight limits and keeping your cabinet in good shape
- What Keter’s own design and assembly guidance recommends
- When to call in a second pair of hands
- Which Keter cabinet suits your space?
- Sources
- FAQ
Getting ready for plastic cabinet assembly
Before you touch a screwdriver, spread every part out on a flat, protected surface. Cardboard, an old moving blanket, or a soft mat stops the plastic panels scratching, and it gives you room to check that nothing warped in the box during shipping. This step matters more than people expect: a workspace that isn’t level will throw off door alignment later, even if every panel goes together correctly.
Run through the parts checklist against the manual before you start turning screws. Missing a single cam lock or shelf pin halfway through is the fastest way to lose momentum on a Saturday afternoon.
You’ll need:
- A manual screwdriver (Phillips or flat, depending on the fastener)
- A rubber mallet, ideally used through a cloth to avoid marking the plastic
- A spirit level
- A soft cloth for wiping down panels
- Small containers or zip bags to sort screws, dowels, and cam locks by step
Skip the power drill for this job. High-torque drivers spin past the point of resistance before you feel it, and that’s exactly how stripped threads and cracked plastic bosses happen. A manual screwdriver gives you the tactile feedback plastic hardware needs.
How do you assemble a plastic cabinet step by step?
Work through these steps in order, checking each one before moving to the next.
- Orient the base and seat the tabs. Most plastic cabinets have moulded tabs or slots on the base that only fit one way. Line these up before pressing down, rather than forcing a panel that seems close enough.
- Attach the side panels. Engage the top of each side panel into its base slot first, then rotate it down into place. Pushing straight down on both edges at once is what causes tabs to snap.
- Fit the shelves and test the load before locking them in. Insert shelf pins at your chosen height, rest the shelf on top, and give it a light push test with your hand before fixing anything permanently. It’s much easier to reposition a pin now than after the back panel goes on.
- Insert the back panel. On most designs this isn’t decorative. It braces the whole cabinet square, so fit it before you hang doors. If it doesn’t slide in cleanly, check for a rotated side panel rather than forcing it.
- Hang the doors last. Locate the hinge bosses and let the door hang under its own weight before you tighten anything. Tightening a crooked door onto its hinge bosses is one of the more common ways people crack the plastic at this stage, since forcing a misaligned joint concentrates stress exactly where the material is thinnest.
- Check the swing and adjust. Open and close each door fully. If it drags or doesn’t sit flush, loosen the hinge screws slightly, reposition, then re-tighten by hand.
The rubber mallet earns its place at two points only: seating base tabs and coaxing a slightly tight side panel into its slot. If a joint needs more than a couple of firm taps through a cloth, stop and check for a misaligned tab rather than hitting harder.
Pro Tip: Hand-tighten every screw until it stops turning freely, then give it a quarter turn more. That’s the whole trick. Anything beyond that is pushing the screw into plastic that has nowhere left to move, which is exactly how bosses crack.
Most people working through this sequence finish comfortably inside an hour, including the time it takes to sort hardware.
What to do when parts don’t line up
Even a well-designed cabinet can throw up a snag, and most have a simple fix.
- Misaligned screw holes: try rotating the panel a few degrees before assuming a hole is out of position. If a hole genuinely doesn’t line up, a very light pilot mark with a fine drill bit can help, but stop immediately if you feel resistance building.
- Cracked boss or stripped thread: a nylon insert or a slightly larger backing washer with a shorter screw redistributes the load and often gets you a working joint again. If the boss is structural and badly damaged, the panel needs replacing rather than patching.
- Wobbly base on an uneven floor: a spirit level will show you the problem fast. Thin rubber feet or shims under the low corners fix most garage and shed floors, which are rarely as flat as they look.
- Missing or damaged parts: check the bag labelling against the manual twice before assuming a part is genuinely missing, then contact the manufacturer directly rather than working around it.
Pre-drilling and allowing for slight expansion and contraction in the plastic are standard advice in technical fabrication guidance, and it applies just as much to a home cabinet as a commercial one.
Weight limits and keeping your cabinet in good shape
Shelf load ratings are conservative by design, so treat the printed figure as a ceiling, not a target. Load heavy items low and keep the top shelves for lighter gear. This isn’t just about weight capacity: a top-heavy cabinet is far more likely to bow at the base or tip forward.

Where load actually goes wrong: it’s rarely the shelf itself. It’s usually uneven weight distribution stressing one side of the unit, which shows up as a door that no longer closes flush months later.
Keep cabinets out of direct sun and away from constant damp where you can, since both accelerate wear over time. Give the space around the unit some airflow rather than pushing it flush against a damp wall. Once every few months, run a quick check on hinge screws and cam locks, tightening by hand if anything has worked loose.
What Keter’s own design and assembly guidance recommends
Keter builds its cabinets with labelled panels and reinforced bases specifically to cut down on assembly guesswork, and the manufacturer’s own guidance is consistent: assemble on a level surface, skip the power tools for final tightening, and anchor taller units against tip-over risk.
A few habits carry over from Keter’s own recommendations:
- Check the floor with a level before you start, not after the doors are hanging crooked.
- Hand-tighten every fastener; save the mallet for seating tabs, never for closing gaps.
- For tall units, a wall strap or L-bracket does more to prevent tipping than the base alone.
- If you need spare parts or a replacement panel, go through the manufacturer rather than improvising a fix that won’t match the plastic’s flex properties.
When to call in a second pair of hands
Base and shelf work is a one-person job. Tall side panels and door hanging go faster with a second person steadying the frame, especially in a tight garage corner. If a unit is heavy, awkward to access, or needs wall anchoring above head height, get help rather than working solo on a ladder. Moving an assembled cabinet later is usually easier if you remove the doors and shelves first and carry the frame empty.
— Liza
Which Keter cabinet suits your space?
If you’d rather skip the troubleshooting altogether, choosing a well-matched cabinet from the outset makes assembly close to foolproof. A well-designed storage range often follows the same principle this guide follows: fewer awkward joints, clearer panel labelling, and hardware sized so you never need more than hand tightening.
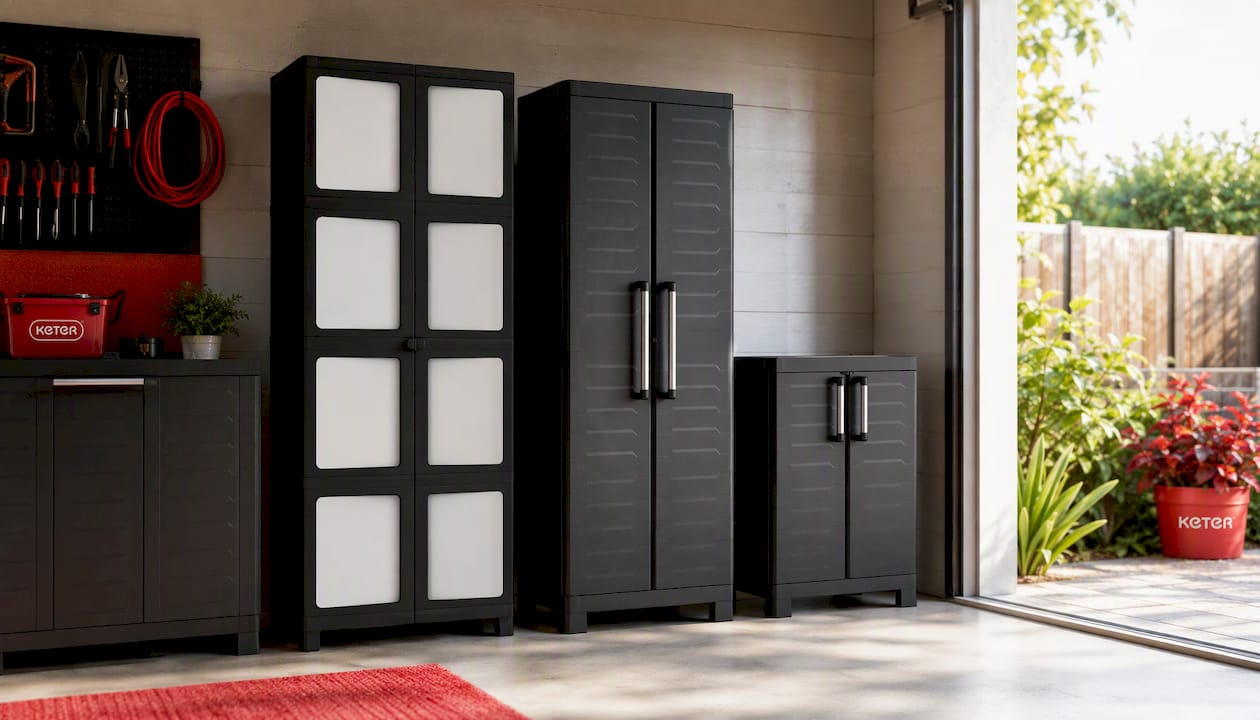
For flexible layouts that might grow over time, the Keter Modulize Tall Cabinet is built as a modular system, so you can add units later without redoing the whole setup. If you need genuine utility storage for a garage or workshop, the Detroit Tall Cabinet is built for that role, with a reinforced base suited to heavier tools and equipment. For a lower-profile option that doubles as a bench top or stacks with other units, the Keter Detroit Base Cabinet is worth a look, and if none of these quite match what you’re picturing, browse the full Keter Australia range for specs, dimensions, and spare parts before you decide.
Sources
For product-specific specs and assembly detail, the Keter outdoor utility tall cabinet page covers levelling and base guidance directly. For the fabrication science behind stress cracks and panel tolerances, the King Plastic technical guide is a solid technical read.
- How do I avoid stress cracks when bonding plastics? — Permabond
- How to assemble a plastic storage cabinet quickly — JQ Plastic
- Technical guide: cabinet fabrication — King Plastic
FAQ
How do you assemble a plastic storage cabinet?
Inventory every part against the manual first, then build in order: base, sides, shelves, back panel, doors, then anchor the finished unit if it’s tall. Hand-tighten every screw rather than reaching for a power drill, since over-tightening is the main cause of cracked bosses.
How do you assemble a plastic wardrobe?
The sequence is largely the same as a storage cabinet: base first for stability, then sides, internal shelving or rails, and doors last. Test that the base sits level before you add any weight, since a wardrobe’s height makes it more sensitive to an uneven floor than a shorter unit.
What’s the correct step-by-step order for cabinet assembly?
Base, sides, shelves, back panel, doors, then handles and anchoring. Fitting the back panel before the doors matters because it braces the whole frame square, which makes the doors hang evenly.
How do I assemble a cupboard without cracking the plastic?
Never force a panel that resists moderate hand pressure. Check for a rotated tab or misaligned hole instead, and use a rubber mallet through a cloth only to seat base tabs, not to close gaps between panels.
Do I need power tools to assemble a plastic cabinet?
No. A manual screwdriver, rubber mallet, and spirit level cover the whole job for most units, including Keter’s own cabinets. Power drills remove the tactile feedback you need to avoid stripping plastic threads.


