
Test Patch First: Make a Painted Plastic Shed Last in Australia

Yes, you can paint most plastic and resin sheds, but only with proper prep, a plastic bonding primer or adhesion promoter, and paint rated for outdoor plastics. Even done well, expect a realistic lifespan of a few years rather than a permanent fix. HDPE and polypropylene sheds are the toughest to paint, so a test patch before you commit is essential.
TL;DR:
- Applying proper primer and using paint rated for outdoor plastics are essential for any durable finish on HDPE and polypropylene sheds.
- A successful paint job typically lasts two to five years, especially if the shed is exposed to full sun or was already degrading before painting.
- Conducting an adhesion test beforehand on a small patch helps determine if the surface will bond properly or require alternative prep or re-cladding.
- Regular maintenance, such as rinsing with a garden hose and adding UV protective coats, can prolong the lifespan of the paint on a plastic shed.
- For those seeking a long-term, low-maintenance solution, opting for a resin shed designed to resist fading and weathering eliminates the need for repainting altogether.
Table of Contents
- How do you know if painting your plastic shed is worth it?
- Why does paint peel off plastic sheds so easily?
- What paint and primer actually stick to plastic?
- How do you actually paint a plastic shed step by step?
- How long will a painted plastic shed actually last?
- Why trust this painting advice on resin sheds?
- What most painting guides get wrong
- Looking for a shed that skips the repaint altogether?
- Sources
- FAQ
How do you know if painting your plastic shed is worth it?
Not every plastic shed is built the same way, and that difference decides whether painting is a weekend well spent or a waste of a Saturday. Most Australian resin sheds are moulded from high-density polyethylene (HDPE) or polypropylene (PP). Both have naturally low surface energy, which is a fancy way of saying paint has almost nothing to grip onto. Fibreglass and uPVC sheds behave differently. Their surface accepts paint far more willingly once properly prepared, which is why fibreglass planters and panels take paint well with the right primer and topcoat.
Before you buy a single tin, check the shed for signs it’s already past saving. Run your hand over a sun-facing panel:
- Chalking — a powdery white residue on your fingers means the surface polymer has broken down.
- Brittleness — panels that feel stiff or crack under light pressure have lost flexibility.
- Deep fading — colour that’s gone patchy or grey usually signals UV damage below the surface, not just on it.
If you see one or two of these, a test patch will tell you fast whether to proceed, prep harder, or skip straight to screening or re-cladding instead.
Why does paint peel off plastic sheds so easily?
Plastic sheds fail paint jobs for reasons that have nothing to do with how carefully you brushed the coat on. Polyolefins like HDPE and PP are non-porous, with a molecular structure that gives standard paints nothing to key into. Without mechanically or chemically increasing that surface energy, the coating just sits on top, waiting for an excuse to lift.
Sunlight adds a second problem. A 2024 peer-reviewed study on polyethylene found measurable UV photodegradation that breaks down surface polymer chains over time, a process called chain scission. That’s the chemistry behind chalking, and it’s also why sheds that have sat in full sun for years often resist paint no matter how well you prep them.
Then there’s movement. Plastic expands and contracts more than timber as temperatures swing across a day, and it flexes under wind load in a way rigid coatings don’t appreciate. Paint too thickly, and that flex becomes the very thing that cracks and lifts your finish within a season, not a decade.
What paint and primer actually stick to plastic?
Skip the primer step and you’re wasting money on whatever topcoat you choose, no matter how good the paint is. Adhesion is the whole game here, and it starts before the colour goes anywhere near the shed.
Primers and bonding agents. Look for products labelled specifically for plastic or vinyl adhesion. Benjamin Moore’s guidance on painting sheds recommends a waterborne bonding primer such as STIX for exactly this reason, since it’s formulated to bond to low-porosity surfaces that ordinary primers slide off. Read the label for words like “adhesion promoter,” “bonds to plastic/vinyl,” or “no sanding required” as the giveaway.
Topcoats worth using.
- Exterior acrylic paints formulated for plastic substrates, usually the easiest option for a brush-and-roller job.
- Flexible exterior enamels that move with thermal expansion instead of cracking against it.
- Two-part polyurethanes (2K), which give the most durable finish but need careful mixing and proper ventilation, so they suit confident DIYers or a trade.
- Spray paints specifically rated for plastic, which lay down thinner, more even coats than a brush in awkward moulded recesses.
Tools and prep supplies. Stock up on 200 to 320 grit sandpaper, isopropyl alcohol for degreasing, a quality painter’s mask and gloves, drop sheets, and painter’s tape for trims and hinges. If you’re spraying, keep the nozzle moving at a consistent distance to avoid runs.
Pro Tip: Buy a small tin of your chosen primer and topcoat before committing to the full quantity. A $20 test purchase beats discovering a full-shed’s worth of paint won’t bond.
How do you actually paint a plastic shed step by step?
Rushing straight to a full repaint is the single biggest mistake DIY homeowners make with resin sheds. Work through these steps in order, and don’t skip the test patch even if you’re confident about your shed’s material.
-
Choose a test area and run an adhesion test first. Pick a hidden panel, roughly A4 in size. Scuff sand it, degrease it, prime it, then apply your chosen topcoat and let it cure fully, usually at least one day depending on the product label. Then try a “pick test”: press a fingernail or the edge of a coin into the paint and try to lift a corner. If it peels away cleanly, the substrate isn’t accepting that primer, and you need a different product or a different plan entirely.
-
Clean and degrease thoroughly. Wash the whole shed with warm water and a mild detergent to strip dirt, then wipe every surface you’ll paint with isopropyl alcohol to remove oils and mould release residue left from manufacturing. Let it dry completely, ideally overnight, before moving on.
-
Scuff sand with the right grit. Work with 200 to 320 grit sandpaper in gentle circular motions, just enough to dull the shine and create microscopic “tooth” for the primer. Avoid heavy scratching, since deep gouges become weak points that crack later. Wipe away dust with a tack cloth or another isopropyl pass.
-
Apply the adhesion promoter or bonding primer. Work in thin, even coats rather than one thick layer, and respect the drying time on the tin, usually one to four hours between coats. Paint on a mild, dry day between roughly 10°C and 30°C with low humidity and no wind, since primer applied in direct midday heat or damp conditions won’t cure evenly.
-
Apply the topcoat in thin, even passes. Spray guns tend to give more consistent coverage across moulded panels and recesses than a roller, but a quality brush and foam roller combination works fine on flatter surfaces. If spraying, overlap each pass by around a third and keep the can or gun moving to avoid drips. Two to three thin coats beat one heavy one every time.
-
Let it cure, then verify. Leave the finished job untouched for the full cure window stated on the tin, often up to a week for full hardness. Run another light pick test on an inconspicuous edge. If you spot bubbling or soft spots, sand back that section, reprime, and recoat rather than accepting a compromised patch.
Pro Tip: If you’re painting near garden beds or a lawn, lay drop sheets and mask off nearby foliage before you start to protect plants from overspray. A homeowner’s guide to prepping surfaces covers this kind of overspray protection well, and it saves you an awkward conversation with whoever mows your lawn.
How long will a painted plastic shed actually last?
Set your expectations at a few years for a well prepped job, not the decade or more you’d expect from a timber repaint. That figure holds up across most DIY case reports, and it shortens fast if the shed sits in full western sun, if you skipped the primer step, or if the original panel was already chalking before you started.
A few habits stretch that window:
- Rinse the shed with a garden hose every few months to stop grime building into the finish.
- Add a UV-protective clear coat over your topcoat if the shed faces harsh afternoon sun, since it acts as a sacrificial layer that fades before the colour underneath does.
- Handle localised wear by sanding back just the affected patch, reapplying primer to that area only, and feathering in a matching topcoat rather than repainting the whole shed.
- Watch for edges lifting around joins and vents first. These flex the most and usually fail before flat panels do.
If you find yourself touching up the same corner every winter, that’s the substrate telling you it’s done. At that point, a privacy screen or cladding panel over the worst section is a smarter use of a Saturday than another can of primer.
Why trust this painting advice on resin sheds?
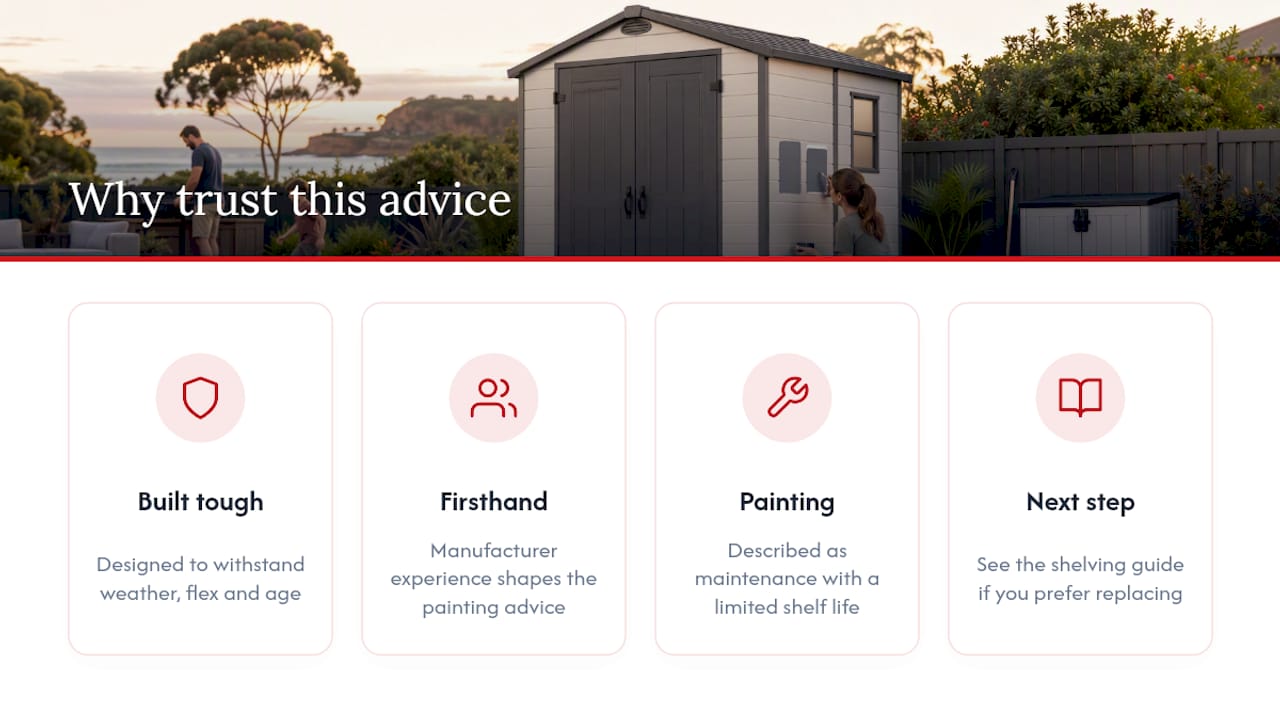
Some manufacturers build and sell resin sheds designed to withstand the weather, flex, and age in backyard conditions, not just how they look on day one. That firsthand knowledge shapes the honest advice above, including the reality that painting is a maintenance project with a limited shelf life, not a permanent upgrade.
If reading all this has you leaning toward buying a replacement instead of babying an old one, our shelving guide for plastic sheds is a good next stop for getting more out of whatever shed you land on.
What most painting guides get wrong
Most advice on painting plastic sheds treats the topcoat as the hero and the prep as an afterthought, when it’s almost the reverse. The primer choice and the test patch are what decide whether your weekend produces a finish or a mess. Skip the pick test because you’re confident about your shed’s material, and you’ll find out the hard way three months in when a whole panel starts lifting at the corners.
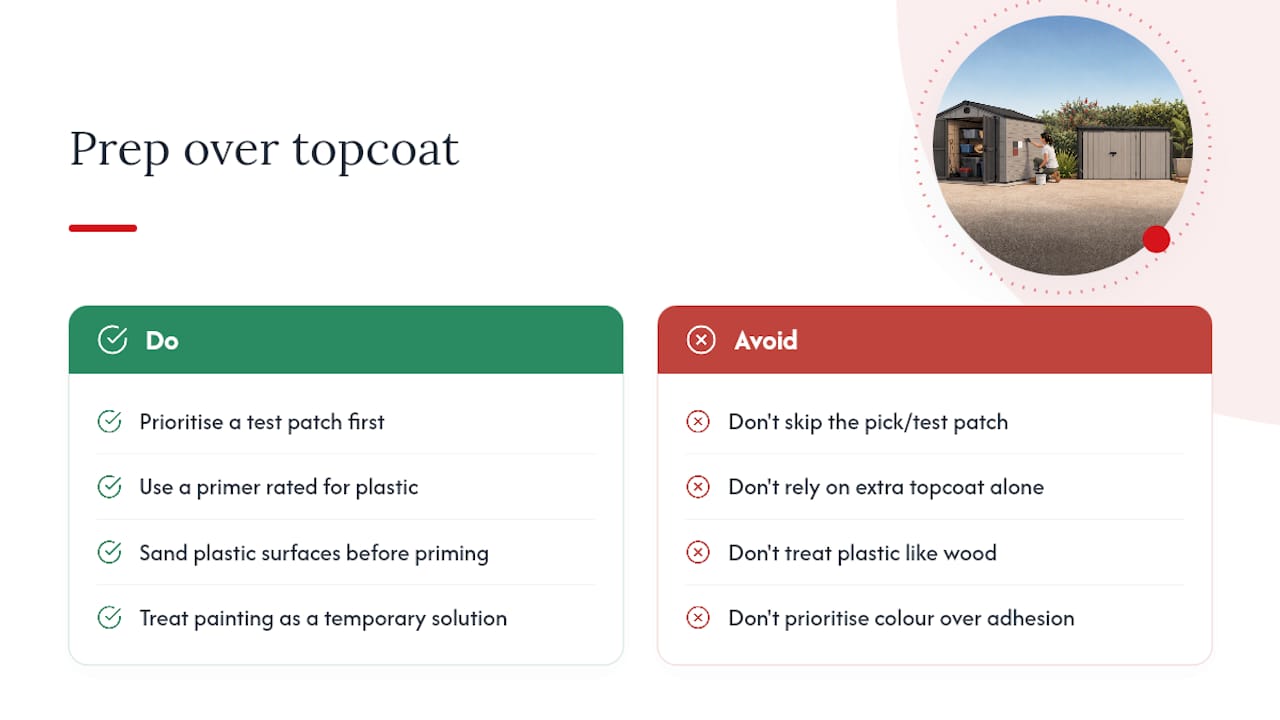
The other thing conventional advice underplays is how much the base polymer matters. Wood forgives a slightly rushed prep job because it’s porous and grips paint on its own. HDPE and polypropylene don’t extend that courtesy, and no amount of extra topcoat compensates for skipped sanding or a primer that isn’t rated for plastic. If you take one thing from this article, prioritise the test patch over the paint colour. Colour is reversible. A failed adhesion test on your whole shed is not.
None of this makes painting a bad idea. It makes it a project with a defined lifespan, best suited to buying time on a shed you’re not ready to replace, rather than a permanent cosmetic fix. Go in with that expectation and you’ll be far happier with the result in twelve months.
— Liza
Looking for a shed that skips the repaint altogether?
If the idea of scuff sanding, priming, and repainting every few years doesn’t appeal, some resin sheds are built to skip that maintenance loop entirely, since their weather resistant panels are designed to hold their colour and finish without a coat of paint. For smaller garden setups, the Keter Potting 6x8 Shed in Green gives you a compact 1.9 by 2.4 metre footprint with a look that’s meant to stay put.
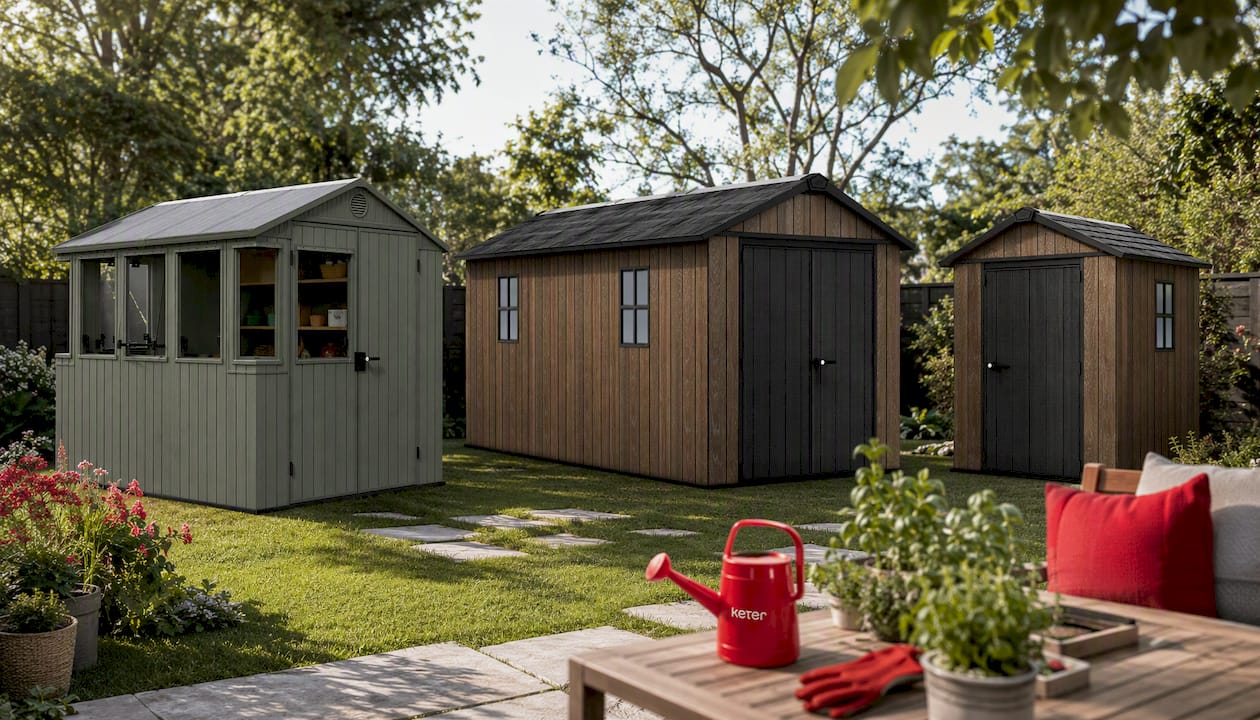
If you need more room, the Keter Apex Shed in Walnut Look at 2.3 by 2.2 metres brings a timber-style finish without any of the upkeep timber demands, and the larger Keter Apex Shed 7.5x15 at 2.3 by 4.6 metres suits anyone who’s outgrown a smaller shed and wants serious storage in one go. Painting an existing shed buys you time; a new resin shed buys you years without thinking about a paintbrush again. Have a browse through the current range and find the size that fits your yard.
Sources
For readers who want to check the technical detail behind this advice: Benjamin Moore’s shed painting guide covers primer selection in depth, the MDPI polyethylene study explains the UV degradation science, and Bunnings’ Zinsser primer listing confirms the sanding grit and degreasing steps used throughout this guide.
- Sigma Planters — How to paint fibreglass planters
- MDPI Polymers — Photodegradation of polyethylene (2024)
- Bunnings — Zinsser Extreme Adhesion primer listing
FAQ
Can a plastic shed be painted?
Yes, most plastic and resin sheds can be painted, provided you clean, sand, and prime the surface with a product designed for plastic adhesion before applying topcoat.
What kind of paint will stick to plastic?
Exterior acrylic paints formulated for plastic substrates, flexible enamels, and two-part polyurethanes all bond well when paired with a proper bonding primer; standard house paint without primer generally won’t hold.
Do I need to prime plastic before I paint it?
Yes, priming is essential. Plastic’s low surface energy means paint has nothing to grip without a dedicated adhesion promoter or bonding primer applied first.
What is the best outdoor paint for plastic?
For most DIY jobs, an exterior acrylic paint labelled for plastic or vinyl adhesion offers the best balance of ease and durability, while two-part polyurethanes suit readers after maximum longevity and comfortable with more involved application.
How long does painted plastic shed paint actually last outdoors?
Expect roughly two to five years from a well prepped job, shorter if the shed gets heavy sun exposure or the surface was already chalking before painting began.


