
3 Weekend Fixes to Weatherproof Outdoor Cabinets in Australia

Outdoor cabinets stay serviceable when you combine the right material, sealed joins, elevated installation, stainless hardware and a simple maintenance routine. No single product does this job alone. Start with three things this weekend: check every door seal for gaps, lift the base a few centimetres off the ground, and swap any rusting screws for stainless ones. The sections below walk through each layer properly.
TL;DR:
- Use marine-grade stainless fasteners and UV-stabilised resin or HDPE cabinets to ensure durability against Australia’s coastal salt, UV rays, and moisture.
- Seal all joints, seams, and screw holes with silicone or polyurethane, and add door gaskets and drip edges to prevent water ingress.
- Elevate cabinets on legs or pavers, especially in high-humidity areas, to prevent ground moisture from causing damage over time.
- Regularly inspect and maintain seals, hinges, and fasteners each season, re-coating and lubricating to extend hardware life.
- Position cabinets under eaves or shaded areas, and consider ventilation options to control internal humidity and prevent mold and corrosion.
Table of Contents
- What makes an outdoor cabinet actually weather resistant?
- How do you seal and finish an outdoor cabinet properly?
- How do you keep rain out of an outdoor cabinet?
- Should you raise your outdoor cabinet off the ground?
- What hardware stops hinges and fasteners failing first?
- Where should you place an outdoor cabinet for the least damage?
- Do outdoor cabinets need ventilation?
- How often should you inspect and maintain an outdoor cabinet?
- Which cabinet type suits your storage problem?
- What DIYers get wrong about outdoor cabinet weatherproofing
- Find the right Keter cabinet for your outdoor space
- Sources
- FAQ
What makes an outdoor cabinet actually weather resistant?
Choosing the right material is the foundation everything else builds on. Get this wrong and no amount of sealant will save you.
Timber looks warm and fits a lot of Australian backyards, but it’s high maintenance. Hardwoods like Jarrah, Blackbutt and teak resist rot better than softwoods, though they still need regular oiling to stop cracking and greying.
Metal cabinets, particularly powder‑coated steel or Colorbond, handle UV well and hold their shape. The catch is corrosion at cut edges and fasteners, especially near the coast.
Resin and HDPE cabinets, like the ones Keter builds, shrug off moisture entirely because the material itself doesn’t rot, rust or absorb water. UV‑stabilised resin also resists the fading and brittleness that cheaper plastics develop after a few Australian summers.
Before you buy anything, check the product sheet for:
- Fastener grade (316 stainless for coastal, 304 for inland use)
- UV stabilisation in the resin or coating
- Sealed or continuous backs rather than open frames
- Whether joints are welded, moulded or simply screwed together
Anodised aluminium and compact laminates are worth considering too, particularly for a Colorbond‑style coastal build where marine‑grade fixings matter as much as the panel itself. For a broader rundown on how different outdoor furniture materials perform over time, it’s worth reading before you commit to a style.
How do you seal and finish an outdoor cabinet properly?
Every material needs its own finishing approach, and skipping this step is where most DIY jobs fail early.
- Timber: sand back, apply a marine‑grade exterior varnish or oil, and plan to recoat every one to three years depending on sun and rain exposure.
- Metal: treat any exposed edge or scratch with an anti‑corrosion primer before touch‑up paint. Metal topcoats generally last five to ten years before they need attention.
- Resin or plastic: these don’t need painting, but sealing any cut edges (if you’ve drilled for ventilation or mounting) stops moisture creeping into the material’s core.
- All materials: run a bead of silicone or polyurethane sealant around seams and screw holes to stop capillary action drawing water inward.
Recoat timing genuinely depends on exposure, and recoating windows shift if the cabinet faces west into afternoon sun.
Pro Tip: Seal screw holes before you drive the screw in, not after. A dab of silicone in the pilot hole stops water tracking down the shaft into the cabinet’s core.
How do you keep rain out of an outdoor cabinet?
A cabinet can be made from the best material available and still leak if the door doesn’t seal properly. Wind‑driven rain finds gaps most people never think to check.
- Fit EPDM rubber or compression weatherstripping around door frames. It compresses under latch pressure and springs back, unlike foam strips that flatten and crack within a season.
- Run silicone or polyurethane sealant along top seams, back panel joins and anywhere two pieces of material meet.
- Add a small drip edge above doors so water sheds away from the seal line instead of pooling on it.
- Tilt cabinet tops slightly, even a few degrees, so rain runs off rather than sitting and eventually finding its way in.
A genuinely watertight cabinet relies on sealed joints, continuous backs, door gaskets and raised plinths together. Many products marketed as weather resistant are only water resistant rather than fully watertight, which matters if you’re storing anything sensitive to moisture inside.
Should you raise your outdoor cabinet off the ground?
Ground contact is one of the fastest ways to ruin an otherwise solid cabinet. Splash‑back, puddling and rising damp attack the base long before the walls show any wear.
- Rubber or plastic legs raise the cabinet a few centimetres, which is often enough for casual backyard use.
- Pavers or a small paved plinth work well if you want a permanent, level footing without pouring concrete.
- A DPC‑style membrane or a simple air gap behind the cabinet stops moisture wicking up from damp soil or a wet paved surface.
A full concrete slab makes sense for permanent installations in high‑rainfall areas; simple elevation covers most suburban backyards fine.
What hardware stops hinges and fasteners failing first?
Hardware fails before the cabinet body usually does, and once a hinge rusts through, water follows straight in behind it. Fastener grade matters more than most people realise here.
- Use 316 stainless within roughly a kilometre of the coast, where salt air accelerates corrosion fastest, and 304 stainless is fine further inland.
- Lubricate hinges twice a year with a marine‑grade lubricant, not a household oil that washes out in the rain.
- Dab exposed screw heads with silicone to block moisture ingress at the one point most people forget.
- Choose outdoor‑rated locks, and if the cabinet houses anything electrical, check its IP rating actually suits outdoor exposure before you install it.
Pro Tip: Keep a small tube of marine‑grade silicone in your shed toolkit. Ten minutes twice a year on hinges and screw heads adds years to hardware that would otherwise seize or rust first.
Where should you place an outdoor cabinet for the least damage?
Siting a cabinet well does more heavy lifting than most people expect, often more than any sealant.
- Position it under an eave, pergola or carport rather than fully exposed, and if you can, angle it away from prevailing wet winds.
- Use a breathable, fitted cover for extra seasonal protection, but avoid vinyl covers that trap condensation underneath.
- Add shading, like an awning or outdoor blind, to cut UV exposure and reduce heat soak on hot afternoons.
- Choose lighter finishes where possible. Dark colours absorb more heat and are more prone to warping over time.
For ideas on positioning cabinets alongside broader outdoor zones, transforming a patio space is worth a look before you settle on a final spot.
Do outdoor cabinets need ventilation?
Sealing a cabinet tight against rain and then trapping humidity inside causes its own problems. Mould, mildew and metal corrosion all thrive in still, damp air.
- Fit passive vents top and bottom, roughly proportional to the cabinet’s internal volume, and always cover them with insect mesh.
- Desiccant packs work well for smaller enclosed sections; a small low‑power fan helps only in genuinely humid climates or fully enclosed builds.
- Balance sealing against ventilation. Sealed joints keep rain out; vents let trapped vapour escape before it condenses.
Ventilation matters as much as sealing, because condensation forms inside even well‑sealed cabinets if there’s nowhere for vapour to go.
How often should you inspect and maintain an outdoor cabinet?
A regular check‑up catches small failures before they become expensive ones.
- Each season, inspect seals, hinges and drainage, and re‑seal, lubricate or clear blocked drain gaps as needed.
- After any major storm, check inside for dampness, dry it out promptly, and lift stored items off the base if moisture has pooled.
- Log the date of every inspection and touch‑up. It helps you track recoat intervals and supports any warranty claim if something fails early.
Layering material choice, sealed edges, elevation and routine checks consistently outperforms one‑off waterproofing products in real Australian conditions, where humidity, UV and salt air all attack a cabinet differently across the year.
Which cabinet type suits your storage problem?
Matching the product to the problem matters more than chasing a single “best” material. A humid coastal carport and a dry inland patio need different answers.
- Elevation and airflow: a cabinet with legs or a raised base keeps contents clear of ground moisture, ideal for anyone dealing with damp pavers or occasional pooling.
- Sealed dry storage: a fully enclosed cabinet with sealed backs suits garden chemicals, tools or anything that must stay bone dry.
- Tall, vertical storage: taller cabinets suit narrow side passages where floor space is tight but wall height isn’t.
UV‑stabilised resin, anodised aluminium and HDPE all show up repeatedly in weather‑resistant material guides for good reason: they resist rot and rust by design rather than by coating.
What DIYers get wrong about outdoor cabinet weatherproofing
Most weatherproofing failures I see trace back to four habits: skipping fastener upgrades because the original screws “still work,” leaving cabinets flat on paving instead of raised, sealing tight without adding any ventilation, and buying on looks before checking the material spec sheet. The fix for each is small: swap to stainless, add legs or pavers, drill a vent with mesh, and read the fastener grade before you check out. Work through the outdoor furniture materials guide before you shop, and you’ll avoid most of this entirely.
— Liza
Find the right Keter cabinet for your outdoor space
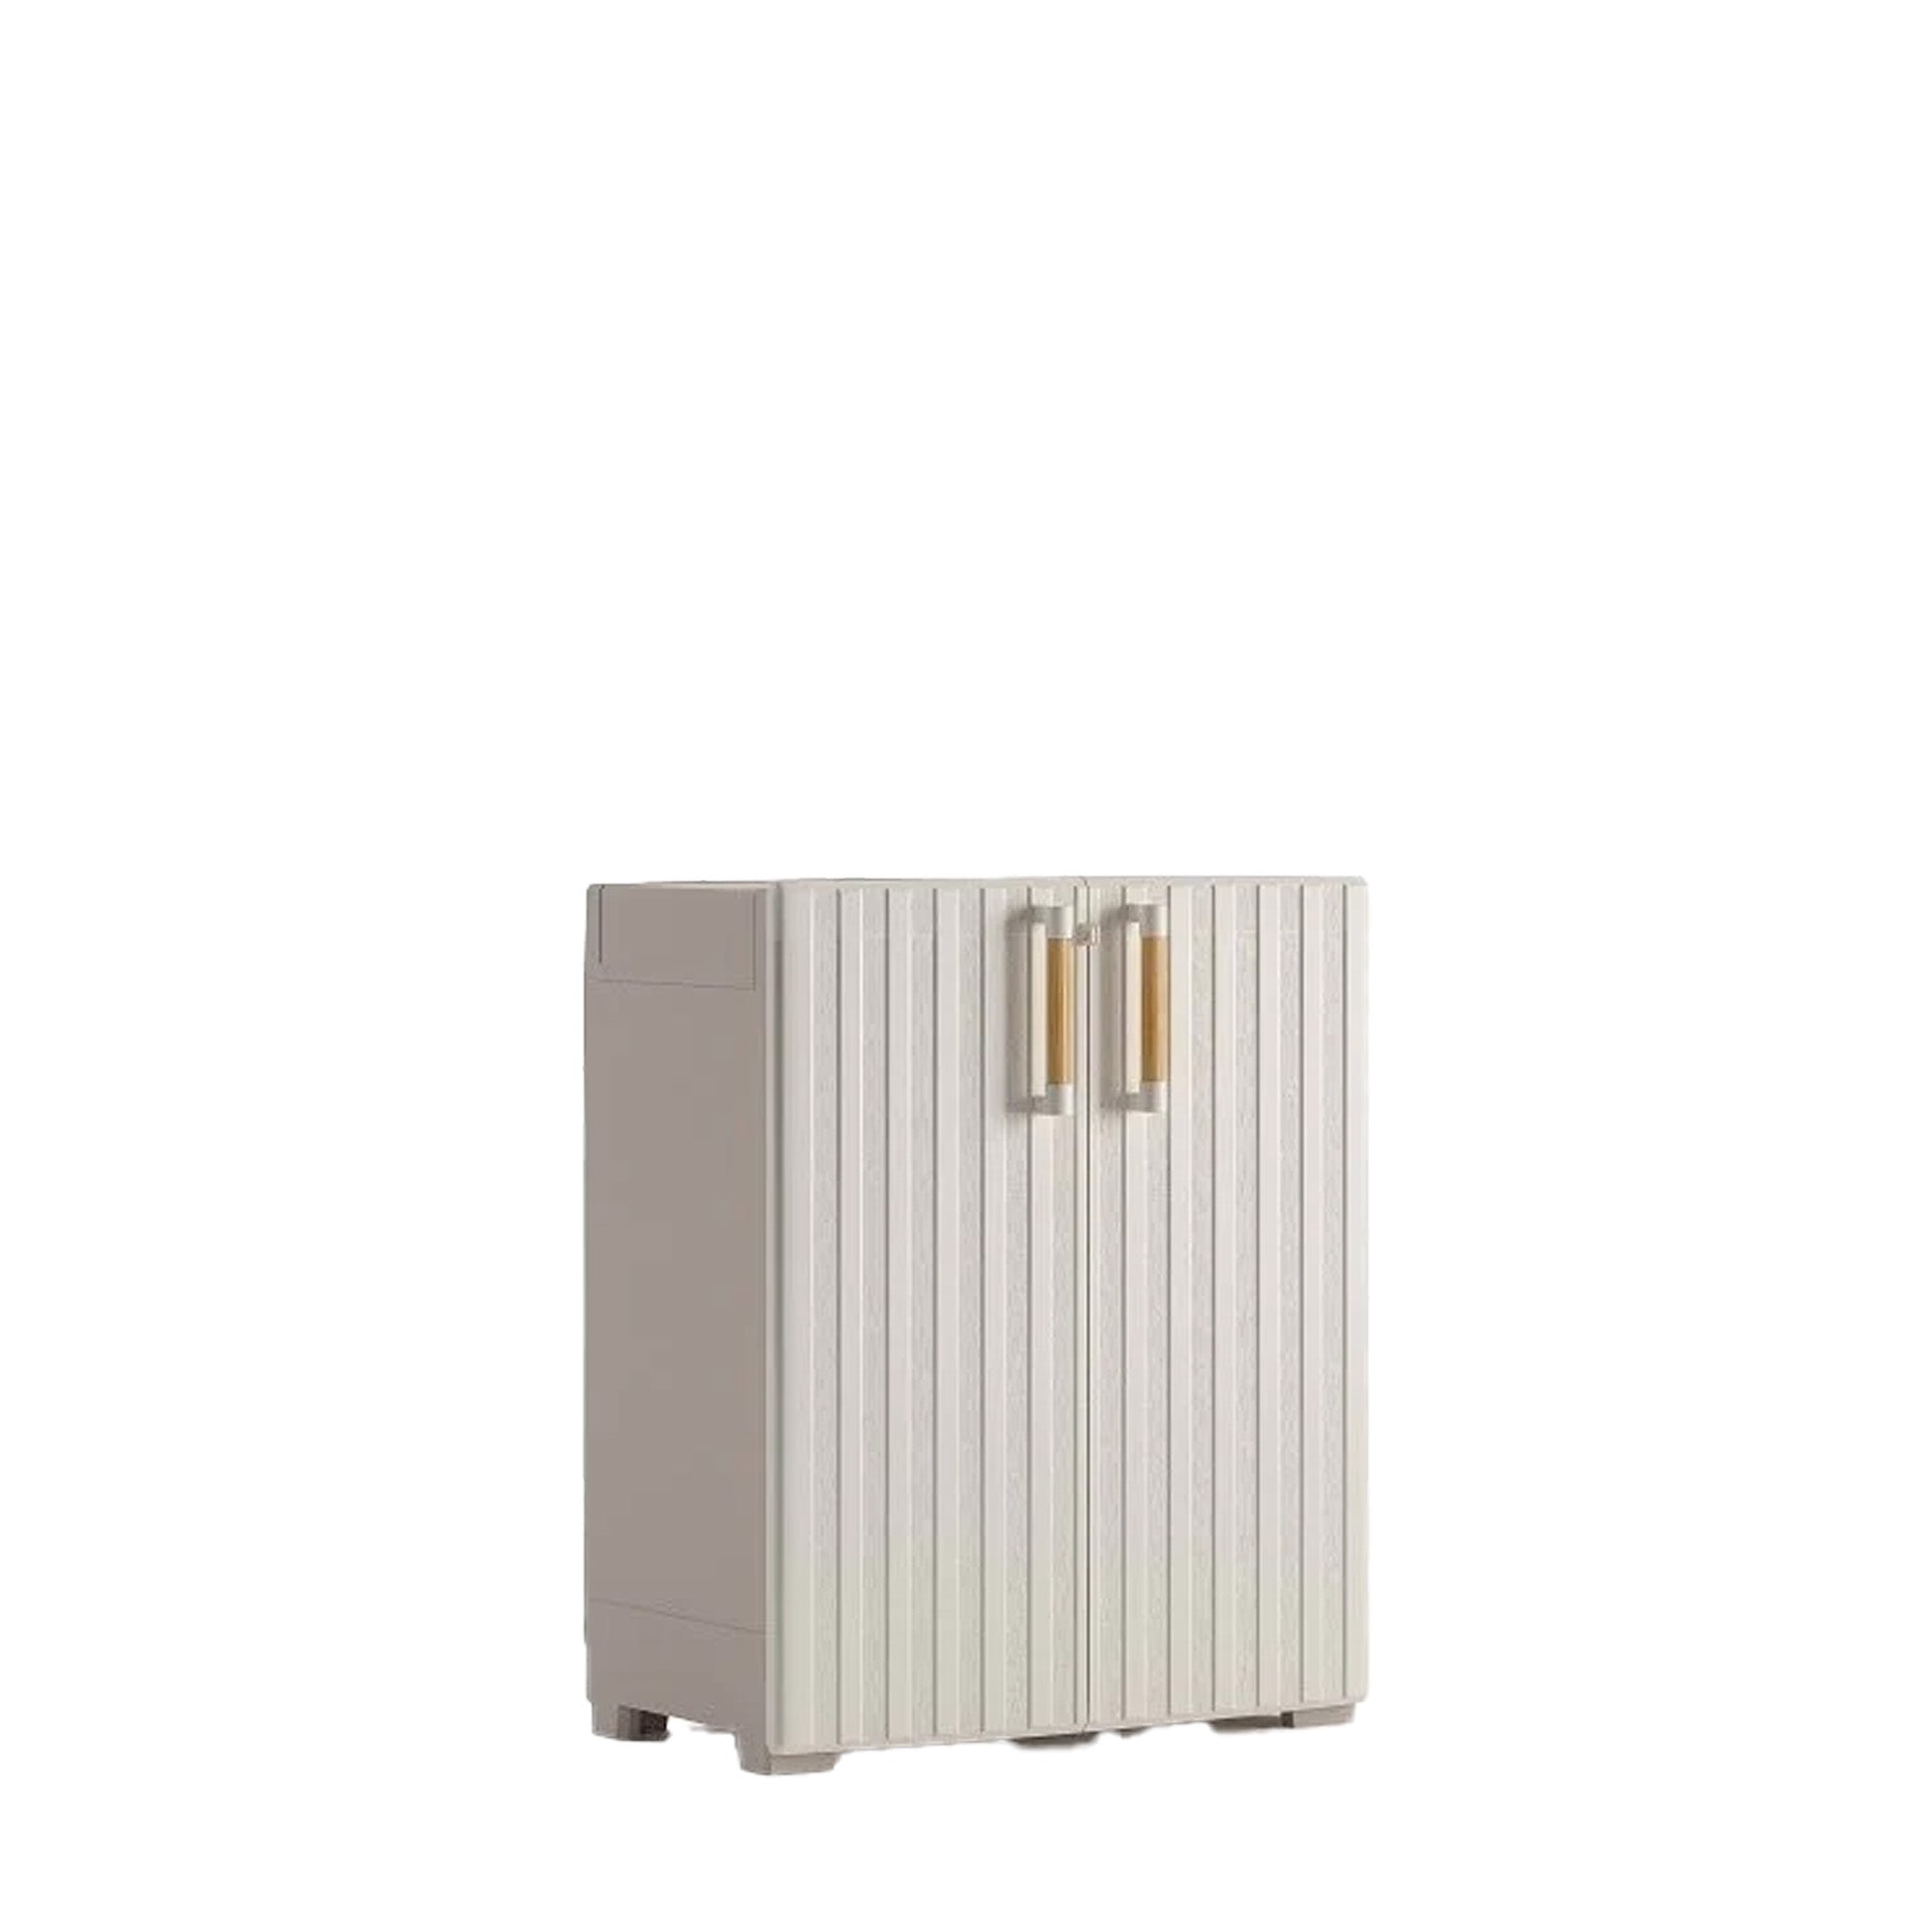
Once you know what’s attacking your cabinet, whether it’s ground moisture, salt air or straight-up UV, matching the product gets a lot simpler. The Keter Groove Base Cabinet sits on a raised base by design, which solves the elevation and drainage problem covered earlier without you needing to add legs or pavers yourself.
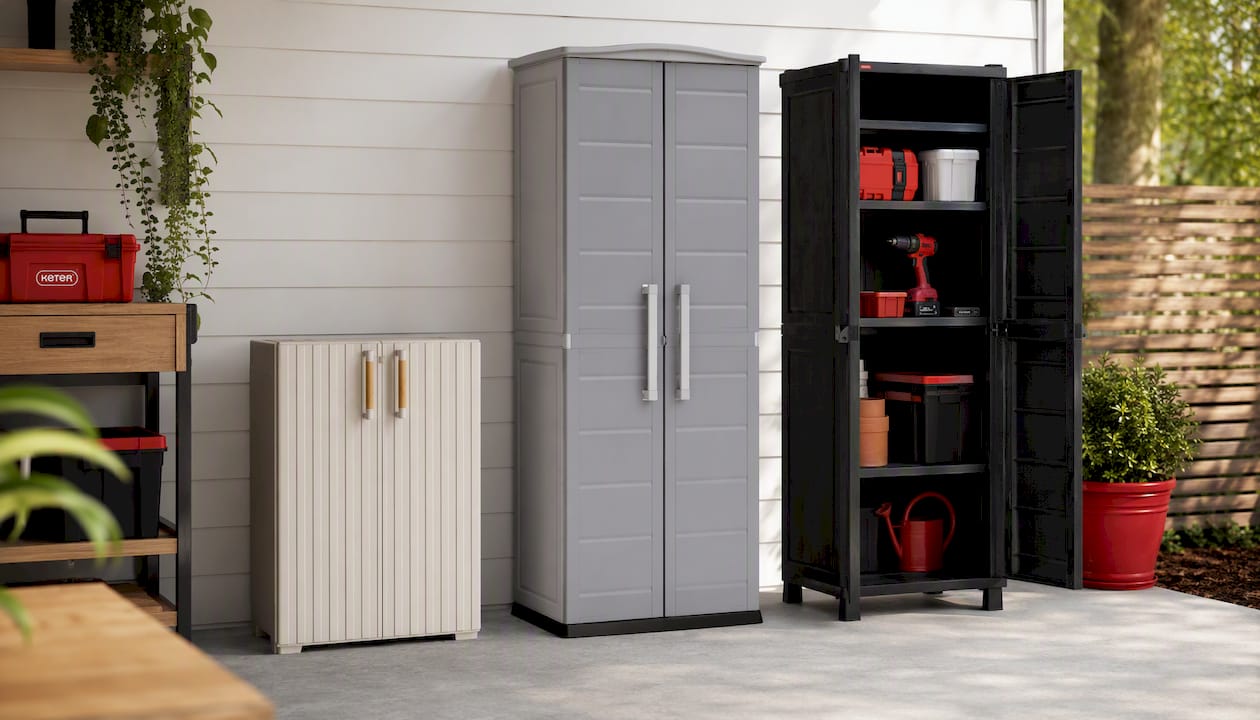
If you’re storing tools, sports gear or anything that needs to stay upright and organised, the Keter Boston Tall Outdoor Storage Cabinet in Light Grey gives you vertical storage in a weather resistant resin body that won’t rot, rust or need a recoat schedule. For a genuinely flexible option that handles everything from pool gear to garden tools, the Keter Utility Multi Purpose Cabinet comes with legs built in, so elevation is sorted from day one.
Measure your exposure, whether that’s coastal salt air, harsh sun or a shaded carport, then pick the cabinet that matches, and run the maintenance checklist above every season. Have a look through the full range at Ketergroup to find the fit for your space.
Sources
- 304 vs 316 stainless steel: which one should you use in Perth?
- Wooden outdoor cabinet vs steel storage: 2025 Australian buyer’s guide
FAQ
Where can I find weather resistant outdoor storage cabinets?
Keter’s range of resin and HDPE outdoor cabinets, available through Ketergroup, are built from UV‑stabilised material designed to handle Australian sun, rain and humidity without rusting or rotting.
What is the best outdoor waterproof cabinet?
The most reliable option combines a moisture‑impervious material like resin or treated hardwood with sealed joints, door gaskets and a raised base, since these features together create genuine water resistance rather than relying on one product alone.
Is there a weather resistant outdoor cabinet suitable for a fridge?
Look for a cabinet with strong ventilation, sealed edges and an IP‑rated enclosure if it will house any electrical appliance, since airflow and moisture control matter as much as the exterior finish for anything that generates heat.
How do you make a cabinet waterproof?
Seal every seam and screw hole with silicone or polyurethane, fit EPDM weatherstripping around doors, raise the cabinet off the ground, and use 316 or 304 stainless hardware depending on how close you are to the coast.


