
Anchor a resin shed in Australia without cracking slabs or guessing

Bolt to concrete with a reinforcement plate and mechanical or chemical anchors, matching the anchor type to your slab’s age and condition. On soil or gravel, skip the concrete altogether and use helical or auger ground anchors with strap systems fixed through a reinforced base plate. Larger sheds, thin slabs, or cyclone-rated wind zones usually need a combination of both approaches, and if you’re unsure, a structural engineer’s five-minute assessment beats a guess every time.
TL;DR:
- Mechanical anchors are suitable for sound, newer concrete slabs, but require precise torque to prevent damage or loosening over time.
- Chemical resin anchors are ideal for older or thinner slabs, but must cure fully before applying load, which can take several hours depending on temperature.
- For soil or gravel bases, ground anchors such as helical or auger types need to be combined with tensioned straps and additional tie-downs for larger sheds or high wind zones.
- You must check slab condition, edge distances, and site hazards before drilling, and always clean holes thoroughly to ensure anchor stability.
- For slabs over 6 square meters or in cyclone zones, combining multiple anchoring methods and consulting a structural engineer is highly recommended.
Table of Contents
- How do you anchor a resin shed to concrete?
- Anchoring without concrete: ground anchors and strap systems
- Tools, materials and site checks before you drill
- Common mistakes, verification and ongoing maintenance
- What Keter’s own assembly guidance means for your anchor points
- Should you DIY it or call in a professional?
- Ready to plan your resin shed setup?
- Sources
- FAQ
How do you anchor a resin shed to concrete?
Fixing a resin shed to a concrete slab comes down to four things: assessing the slab, marking your points, choosing the right anchor, and giving it time to cure properly. Skip the last one and you’ll find out the hard way during the next storm.
Start by checking the slab itself. Look for cracks, flaking, or a surface that’s thinner than the depth recommended by your anchor manufacturer, since older or thin slabs change which anchor you should use. If the concrete crumbles when you tap it with a hammer, stop and call a concreter before you drill anything.
- Mark your fixing points. Follow the shed’s base rail layout and keep every hole well clear of slab edges. Because a resin base is hollow, you’ll need a reinforcement plate on top of the plastic to spread the load. Drilling straight into a plastic floor without one is a common repair callout for exactly this reason.
- Drill and clean. Use a hammer drill with an SDS masonry bit sized to your anchor. Blow or vacuum every hole clear of dust. A dusty hole is the single biggest reason anchors pull loose later.
- Mechanical anchors work well on sound, newer slabs. Drill, insert, and torque to the manufacturer’s spec. A torque wrench isn’t optional here. Over-torquing cracks the concrete around the anchor; under-torquing leaves it loose within a season.
- Chemical (resin) anchors suit older or thinner slabs where a mechanical anchor’s expansion force risks cracking the surface. Inject the cartridge fully into the cleaned hole, insert the stud, and wait out the full cure time before you load it, which can be several hours depending on temperature.
- Finish with isolation washers between metal fixings and the resin base to stop corrosion, and give each anchor a firm visual and light pull check before calling the job done.
Pro Tip: Write the anchor brand and cure time on a sticky note stuck to your shed door. Six months from now, when you’re tightening bolts after a storm, you’ll want that torque figure handy, not buried in a recycling bin.
Anchoring without concrete: ground anchors and strap systems
No slab? No problem. Helical and auger ground anchors are the standard fix for firm ground, screwing or driving straight into the soil to create serious pull-out resistance. Auger anchors work best in soft to medium soils, but they lose grip fast in very rocky or waterlogged ground, so dig a test hole first if you’re unsure what’s underneath.
- Mark your anchor points around the shed’s perimeter, matching the base rail or reinforcement plate positions.
- Drive or screw the anchors in until they sit flush, using a driver bar or a cordless drill with the right adapter for helical types.
- Attach galvanised straps or turnbuckles from each anchor to the reinforcement plate or base rail, then tension evenly on all sides.
- Give the whole system a firm pull test by hand before you load the shed with anything heavy.
If you’re building on a plastic grid base or compacted gravel, anchors typically pass through the grid cells into the ground beneath. These bases drain well and go down fast, but they’re not designed to take heavy bolt-down loads on their own without extra reinforcement underneath.
Pro Tip: For anything over 6 square metres, don’t rely on ground anchors alone. Run straps to at least two anchor points per side and, where wind exposure is high, add a mechanical tie-down at each corner as well.
Tools, materials and site checks before you drill
Get your kit sorted before you start, because stopping halfway through a chemical anchor install to find a missing part wastes both time and cartridge.
Tools: hammer drill, SDS masonry bits sized to your anchors, a torque wrench, a resin dispenser gun (for chemical anchors), and an auger driver or ground anchor bar for soil installs.
Materials: mechanical expansion anchors or chemical anchor cartridges, galvanised or stainless steel washers and reinforcement plates, and isolation washers to keep metal away from direct contact with the resin base.
Before you drill or drive anything:
- Call your local dial-before-you-dig service to check for buried cables or pipes.
- Inspect slab condition and confirm edge distances match your anchor’s rated minimum.
- Wear eye protection and gloves, especially when handling resin cartridges.
- Check your local wind region rating, since cyclonic zones need a higher anchor specification than sheltered suburban blocks.
Common mistakes, verification and ongoing maintenance
Most anchor failures trace back to the same handful of shortcuts, and they’re all avoidable.
- Drilling too close to a slab edge. Anchors need a minimum distance from any edge to hold their rated load; go closer and the concrete can shear away under load.
- Skipping hole cleaning. Dust left in a drilled hole weakens both mechanical grip and chemical bond significantly.
- Loading before cure time is up. Chemical anchors need their full cure window, not “close enough.” Read the cartridge label, not your memory of the last job.
- Mixing incompatible hardware. Stainless bolts against galvanised plates without an isolation washer invite corrosion within a year or two.
Once installed, do a basic visual and pull check on every anchor point. Re-torque mechanical anchors after the first few weeks of weathering, since timber and plastic components settle slightly. After any significant storm, walk the perimeter and check for movement, rust bleed, or straps that have loosened.
— Liza
What Keter’s own assembly guidance means for your anchor points
Every Keter shed model ships with its own assembly PDF, and those documents show the exact fixing points engineered into that specific base, which can shift from one model to the next. Checking it before you drill saves you from putting a hole somewhere the base wasn’t designed to take one.
A few things worth checking against your model’s guide:
- Confirm your base rail fixing points match what’s shown in the manual before marking anchor holes.
- For sheds over 6 square metres, Keter recommends combining tie-down methods rather than relying on one anchor type alone.
- If you’re adding internal shelving, check how the added weight distributes across the floor. A well-planned shelving layout keeps heavy items away from the centre of the base and reduces point loads near your anchor positions.
- Run through the pre-installation checklist for levelling and base prep before you commit to anchor placement.
Should you DIY it or call in a professional?
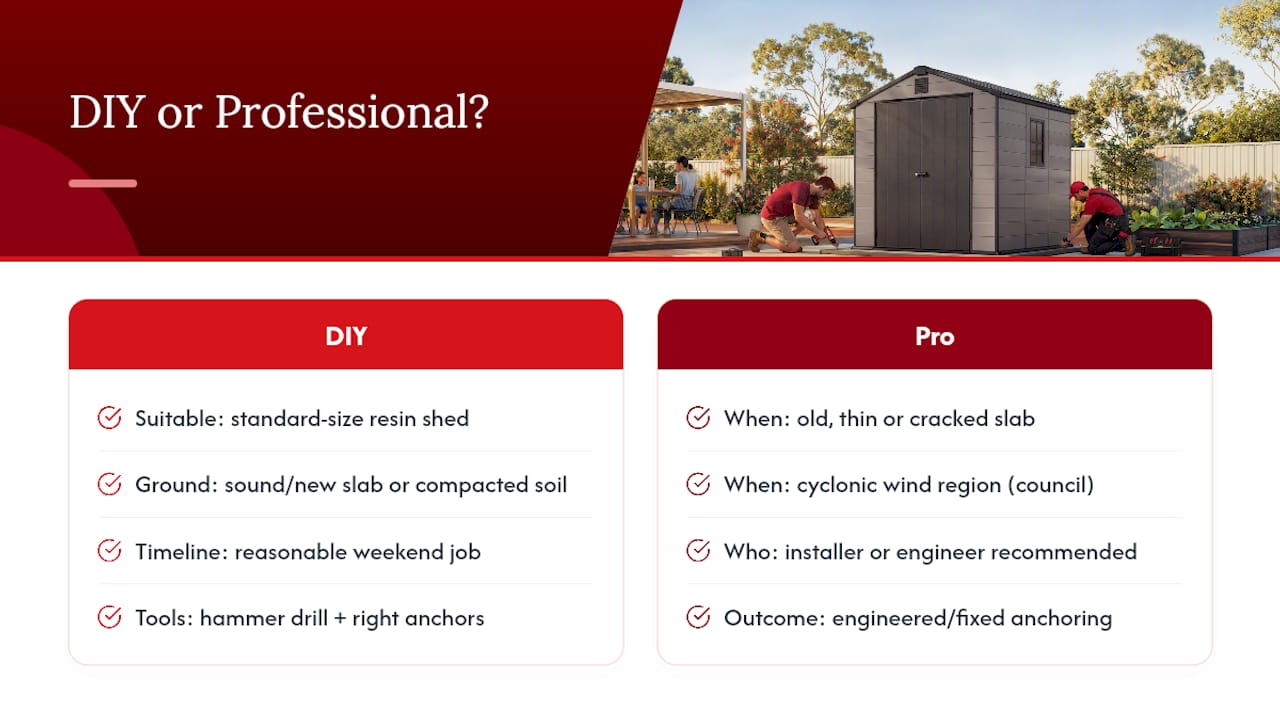
A standard-sized resin shed on a sound, newer slab or firm compacted ground is a reasonable weekend DIY job with a hammer drill and the right anchors. Where the slab is old, thin, cracked, or your council falls in a cyclonic wind region, bring in an installer or engineer instead.
Before you call one, have these ready: slab thickness and age, your shed model and dimensions, your local wind region rating, and whether you’re leaning toward mechanical or chemical anchors. That handful of details turns a vague enquiry into a quote you can actually compare.
Ready to plan your resin shed setup?
Getting the anchoring right starts with picking a shed that’s built for the job in the first place. Resin sheds designed with clear fixing points and weather resistant panels hold their shape through Australian seasons, so your anchor plan works with the shed’s structure instead of fighting it.
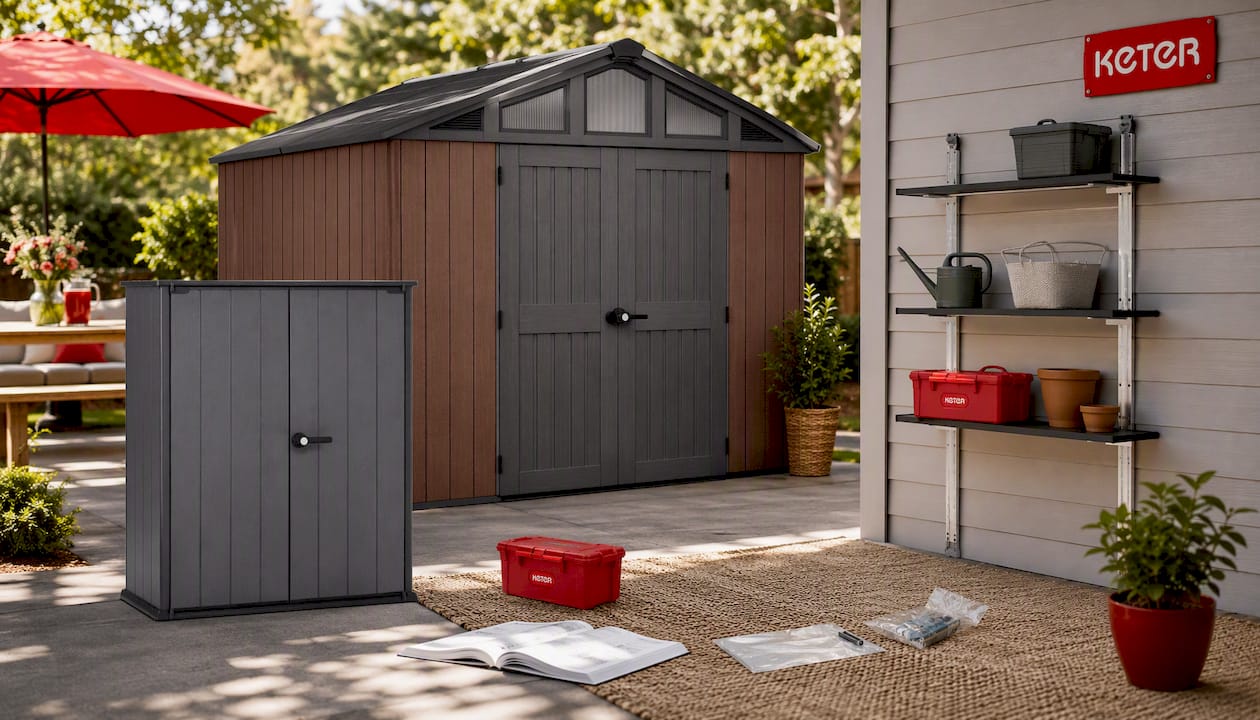
If you’re weighing upsize, the Keter Stronghold Shed 10 x 11.5 is a solid example of a larger model where combining ground anchors with strap tie-downs makes sense, given its footprint. For a smaller footprint that suits tighter courtyards, the Keter Cortina Alto Shed is currently available for pre-order and still benefits from the same reinforcement-plate approach on concrete.
Once your shed is up, a storage shed shelf kit helps spread gear evenly across the floor rather than piling weight in one corner, which keeps load off any single anchor point. For internal organisation ideas beyond shelving, home organisation systems are worth a look if you’re planning zones for tools versus garden gear.
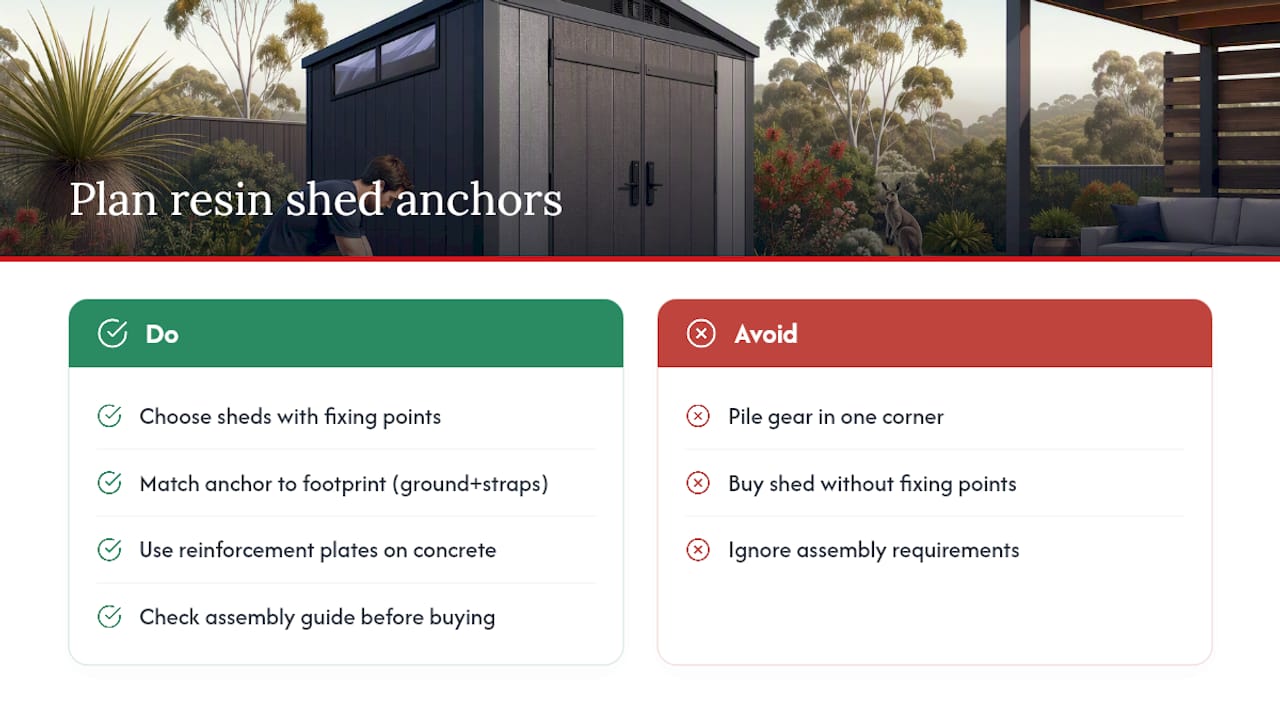
Browse the full range of sheds and outdoor storage to compare sizes against your available slab or ground space, or check the garden and planter range if you’re setting up the area around your new shed at the same time. Head to the product page for the model you’re considering and check its assembly guide before you buy, so your anchor plan is sorted before delivery day.
Sources
- Hold edge distances, embedment and adhesive vs mechanical
- Shed installation on concrete: complete Australian guide
- Plastic shed bases guide
FAQ
How do you anchor down a resin shed?
Bolt through a reinforcement plate into concrete using mechanical or chemical anchors, or use helical/auger ground anchors with tensioned straps on soil and gravel. Always match the anchor type to your slab condition and local wind rating, and combine tie-down methods for larger sheds.
Can you screw into a resin shed?
Yes, but only with a reinforcement plate underneath the fixing point, since a hollow plastic base alone won’t hold a standard screw or bolt securely. Isolation washers between metal fixings and the resin also help prevent long-term wear at the fixing point.
How do resin sheds hold up over time?
Quality resin sheds resist rot, rust, and warping far better than timber or untreated metal, provided they’re properly anchored and drained. Read more about what to expect from a resin shed’s lifespan with regular basic upkeep.
What should you put under a resin shed?
A level concrete slab gives the strongest anchor options, but a compacted gravel bed or plastic grid base works well for smaller sheds where bolt-down strength matters less. Grid and gravel bases drain quickly but need extra reinforcement if you’re planning to anchor heavier accessories. Check the shed base options guide to match a base type to your shed size and site.


